

Upgrading your HVAC system can feel overwhelming, but making small changes, like converting your 18×20 filter box to a 20×20, can significantly improve your air quality and system efficiency. This simple DIY project doesn’t require advanced skills, and we’ll walk you through it step-by-step. Whether you’re looking to enhance your home’s airflow or simply need a larger filter, this guide will show you how to convert your filter box easily and effectively.
Why Convert an 18×20 Filter Box to a 20×20?
Before diving into the steps, let’s quickly explore why you might want to make this conversion:
1. Better Airflow and System Efficiency
A larger 20×20 filter means more surface area to catch dust, dirt, and allergens. This not only improves air quality but also helps your HVAC system run more efficiently. The better airflow leads to less strain on the system, which can extend its lifespan.
2. Improved Filtration
With a 20×20 filter, you’ll have more options for higher MERV (Minimum Efficiency Reporting Value) ratings. This means better filtration, especially for homes with allergies, pets, or high dust levels. A higher MERV rating will trap more particles, leading to cleaner air.
3. Prevent Overworking Your HVAC
By upgrading to a larger filter, your HVAC system doesn’t have to work as hard to push air through a smaller filter. This can reduce energy consumption and lower your electricity bills.
Tools and Materials You’ll Need
Before starting, make sure you have everything you need. Here’s what you’ll require:
Tools:
- Measuring Tape – To measure the size of the filter box and ensure the 20×20 filter fits.
- Saw or Utility Knife – To cut the filter box to the right size.
- Screwdriver – To remove screws from the old filter box if necessary.
- Safety Gear – Wear safety goggles and gloves to protect yourself while working.
Materials:
- 20×20 Filter – Select a filter with the MERV rating that suits your needs.
- Sealant (optional) – To fill in any gaps for a tight seal.
- Screws or Brackets – If you need to secure the filter in place once the conversion is done.
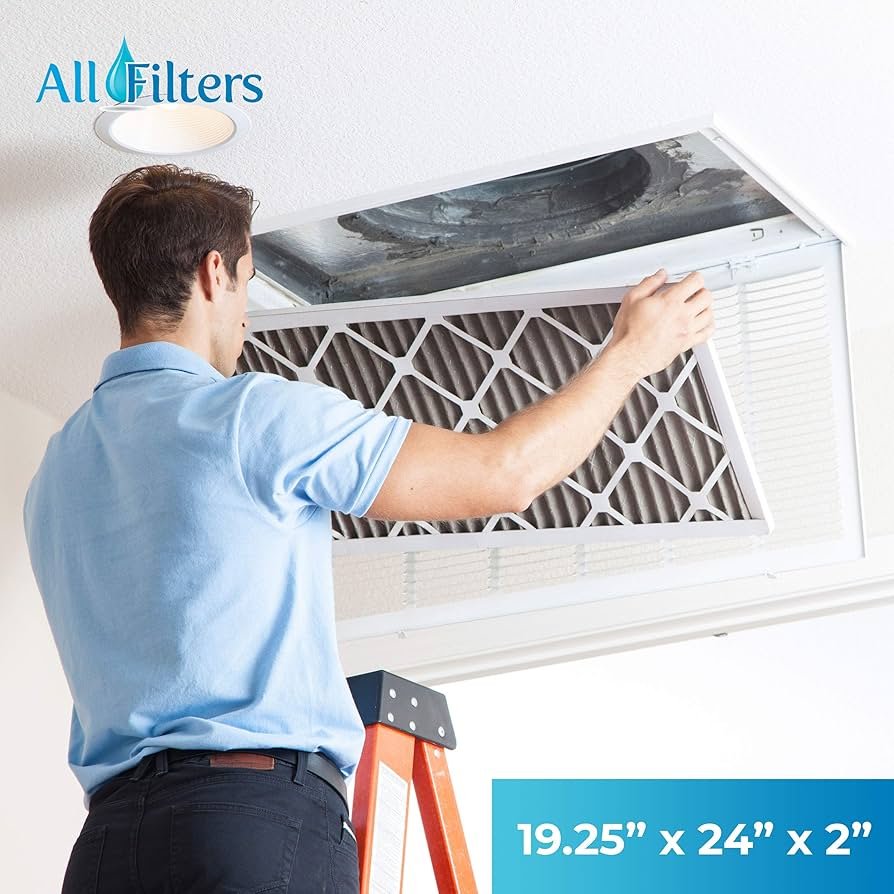
Step 1: Remove the Old 18×20 Filter
The first step is to take out your current 18×20 filter. Here’s how:
- Turn off your HVAC system to ensure safety.
- Remove the old filter from the filter box. You might need to gently pull or slide it out depending on how it’s secured.
- Inspect the box for any dirt, dust, or issues. If you notice excessive buildup, clean it out before proceeding.
Step 2: Measure and Mark for the New 20×20 Filter
Next, you’ll need to adjust the filter box for the larger 20×20 filter. Here’s how to do it:
- Measure the filter box to confirm that there’s enough space for a 20×20 filter. The inside of the box should be slightly larger than the filter to allow for easy installation.
- Mark the cutting lines on the box. Use a pencil to outline the measurements, leaving extra space around the edges so the filter fits snugly.
Step 3: Cut and Adjust the Box
Now it’s time to make your filter box the right size for the 20×20 filter:
- Use a saw or utility knife to carefully cut along the marked lines. Make sure you’re cutting evenly to ensure the filter fits perfectly.
- Smooth any rough edges with sandpaper. This will help the filter fit smoothly without catching on any jagged edges.
Step 4: Secure the New Filter
Once the box is the right size, it’s time to install the new 20×20 filter:
- Place the new filter into the box to check if it fits properly. The filter should slide in without any resistance.
- If there’s any gap between the filter and the box, use a sealant (like foam or weather stripping) around the edges to ensure a tight fit. This will prevent any air from bypassing the filter.
- Secure the filter in place using screws or brackets if necessary. This step ensures the filter doesn’t shift or fall out when the HVAC system is running.
Step 5: Final Checks and Testing
Before you finish, make sure everything is in place:
- Double-check the filter fit. Ensure it’s properly aligned and snug inside the box.
- Turn on your HVAC system and test the airflow. The system should be running smoothly with better airflow and no unusual noises.
Common Mistakes to Avoid
While converting the filter box is relatively simple, here are a few common mistakes to watch out for:
1. Cutting the Box Too Large
If you cut the filter box too big, the filter won’t stay in place or might not seal properly. Be precise when measuring and cutting.
2. Choosing the Wrong Filter Size
Make sure to choose the correct 20×20 filter for your HVAC system. It should fit comfortably inside the box without forcing it.
3. Forgetting the Sealant
If there are any gaps between the filter and the box, air can leak around the filter, reducing its effectiveness. Always seal the edges for better filtration and airflow.
Tips for Maintaining Your New Filter Setup
Once your new filter is installed, here are some maintenance tips to keep your system running efficiently:
- Change the filter regularly. Depending on your filter and home needs, replace it every 3 to 6 months to ensure optimal performance.
- Check the airflow regularly. If the airflow decreases, it might be time to change the filter or inspect the HVAC system for any issues.
- Clean the filter box to prevent dust and dirt from building up, which could affect filter performance.
Conclusion
Congratulations! You’ve successfully converted your 18×20 filter box to a 20×20, improving your air quality and HVAC system efficiency. With just a few simple tools and steps, you’ve made your home more comfortable and healthier.
